Dataform UI
This guide introduces the essential elements of the Dataform UI.
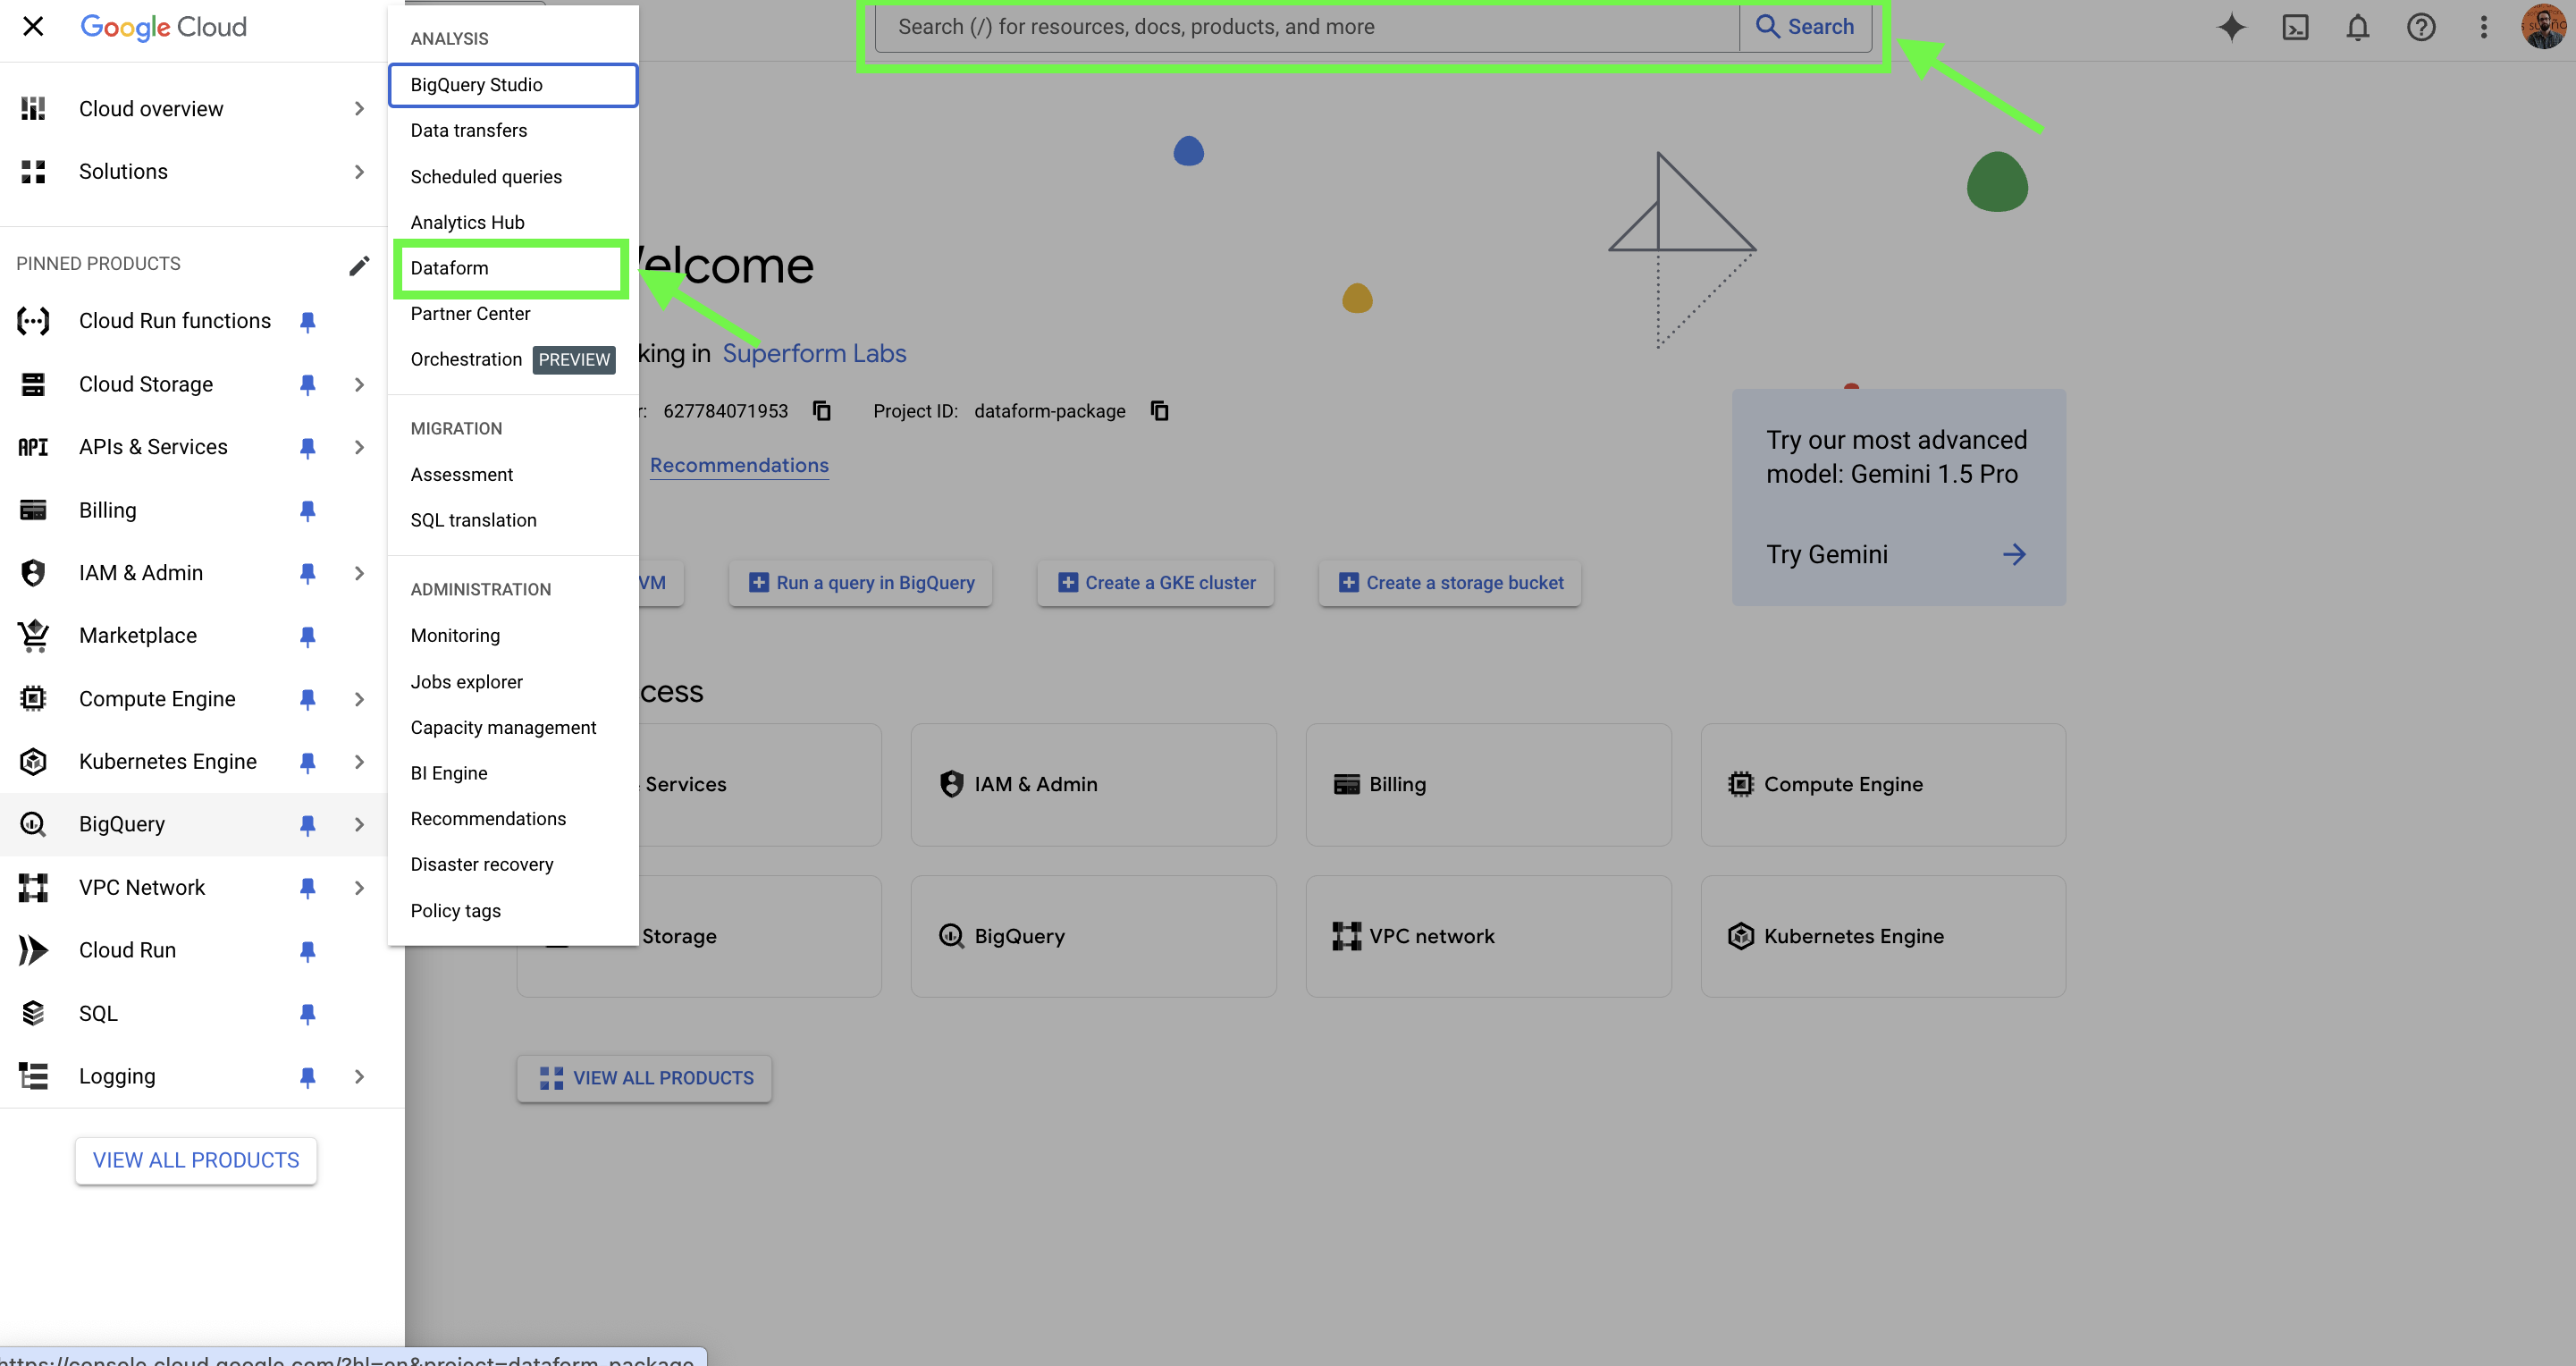
Dataform is seamlessly integrated into Google Cloud Platform (GCP), providing a user-friendly interface to manage your Dataform project (including GA4Dataform project). Here’s how you can access Dataform from the GCP console:
- Use the search bar: Type "Dataform" into the search bar at the top of the console.
- Navigate via the menu: Open the top-left burger menu, go to BigQuery under "Products," and click on Dataform.
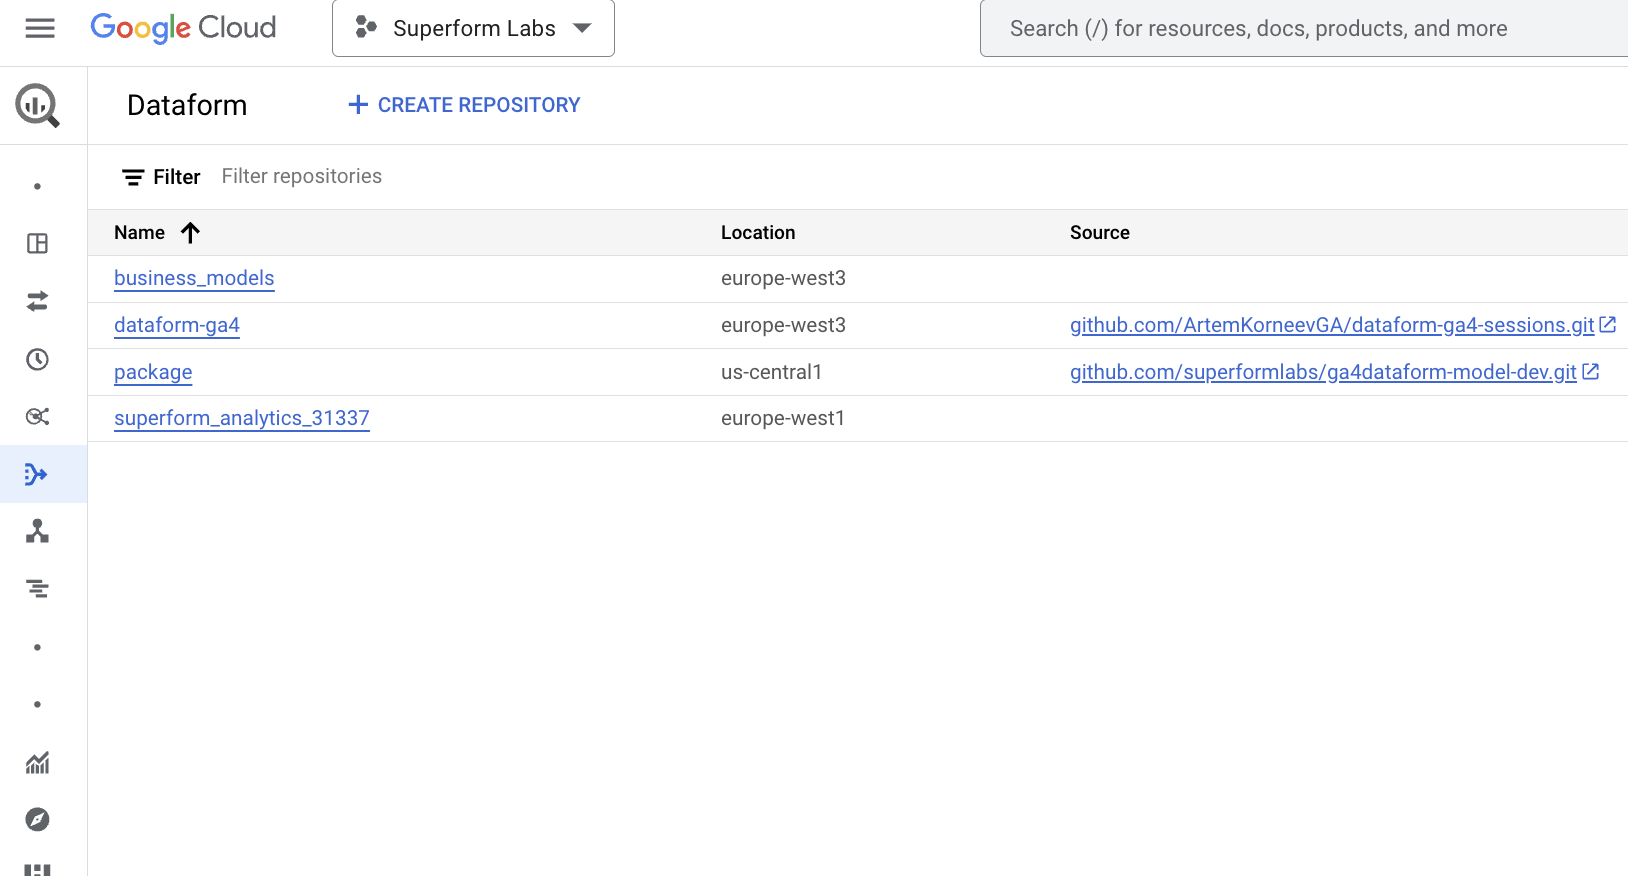
When you open Dataform, you’ll see a list of repositories—these are essentially your projects. If you’ve just installed GA4Dataform, you should find a repository named something like superform_analytics_*.
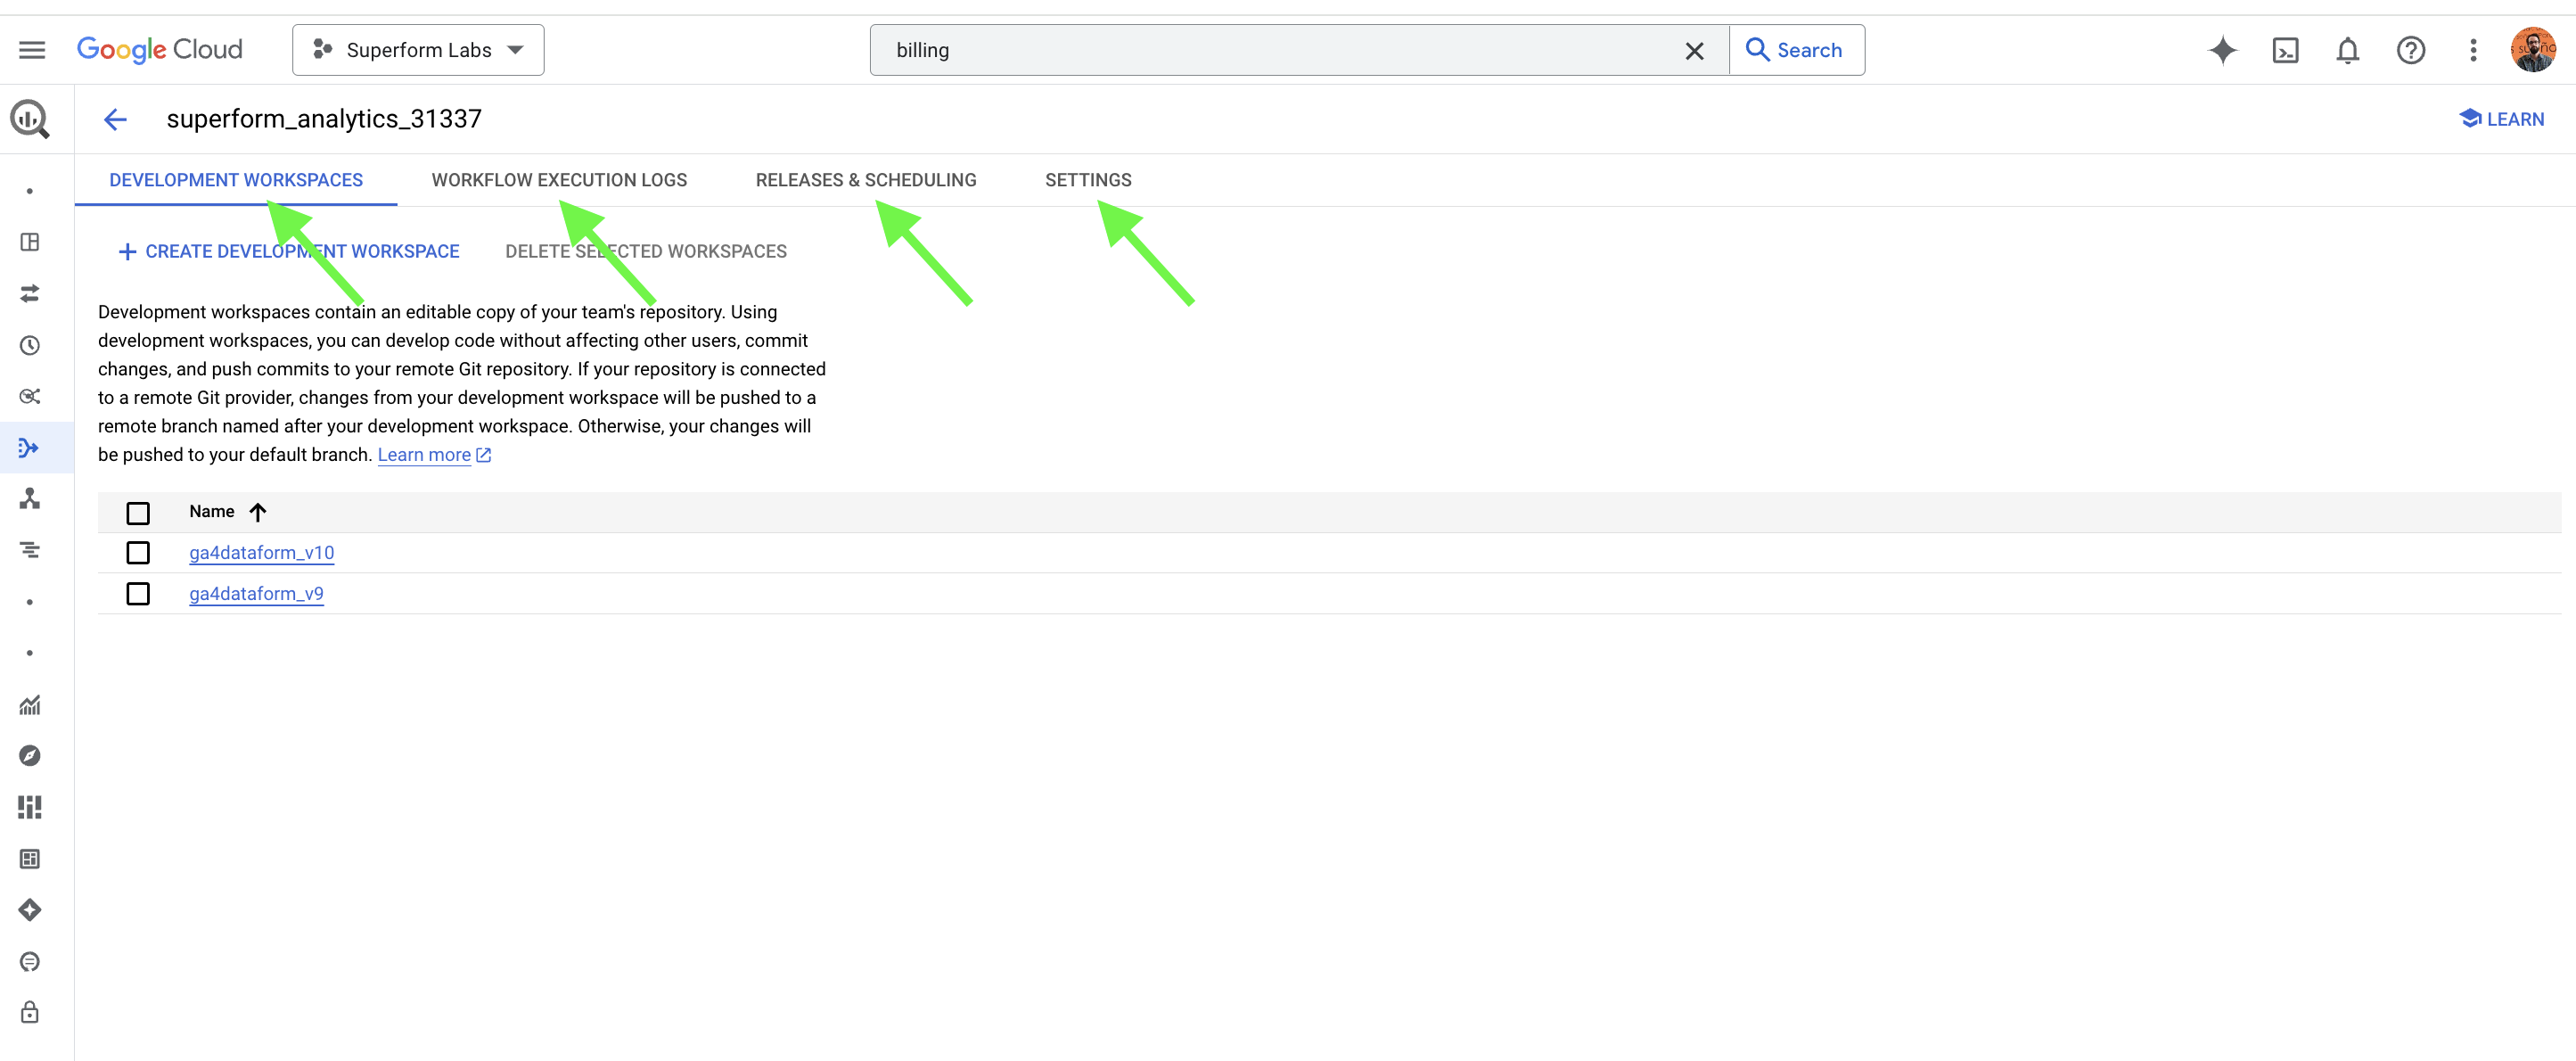
Click on the repository you want to work on. Once inside, you’ll find 4 main sections:
-
Development Workspaces: Write your models and scripts, define data sources, set up lineage, configure table materialization and more...
-
Workflow Execution Logs: Track and review the execution history of your project.
-
Release and Scheduling: Schedule when BigQuery tables are refreshed and manage project compilation settings.
-
Settings: Configure project variables and connect your repository to GitHub.